How to Edit an Appointment
The "Appointment" section is a great way to see the upcoming and past appointments at a glance. You can also see details about the appointments, such as:
Date and time of the appointment
Status of the appointment
Calendar the appointment was booked on
And the assigned user
Appointment Panel Options
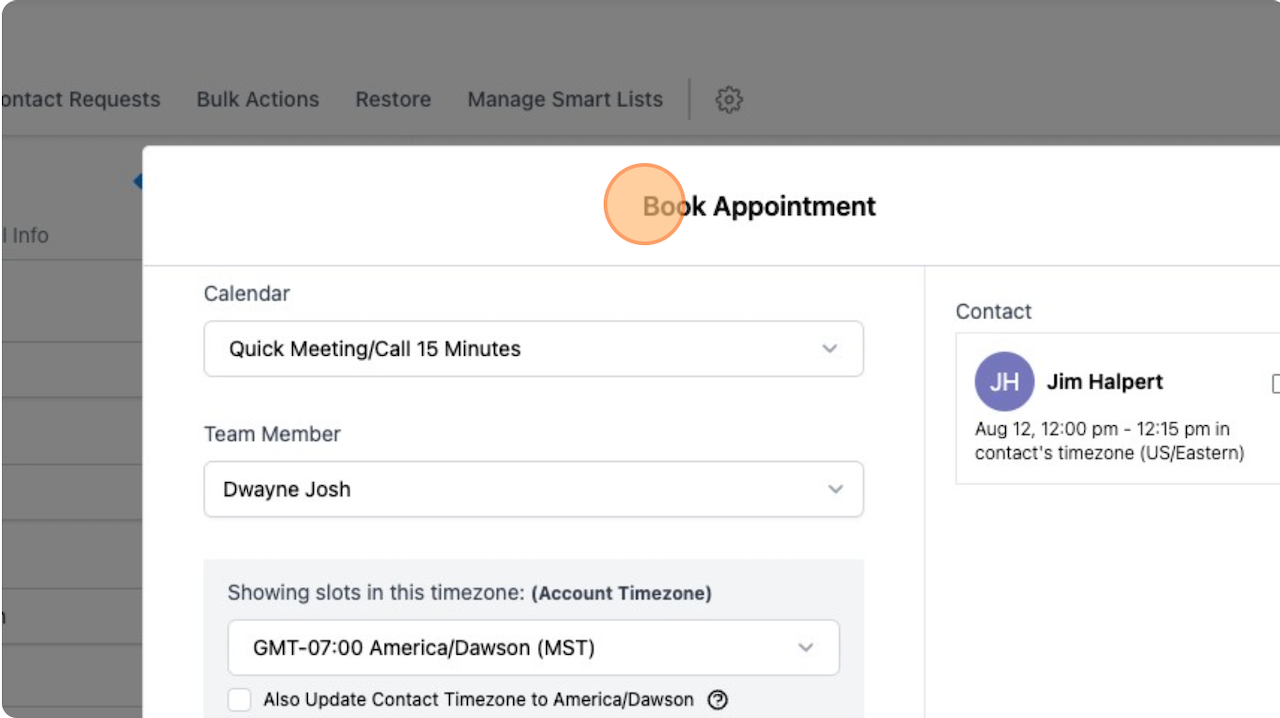
Choose a Calendar
First, choose a calendar you’d like to book the appointment.
Choose a Day
Choose a day next. Unavailable days are hidden. You can select and set your available days in the CRM as well as on each calendar.
Choose a Time Slot
Your unavailable times will not be displayed. You can only choose from available times on the selected day.
Appointment Title
You can give your appointment a title. If left blank, the default title you created in the specific calendar will be used. To customize individual calendars, edit them in your CRM settings.
Contact Name
Enter the contact's name.
Contact Email
Enter the contact's email address.
Contact Phone
Enter the contact's phone number.
Contact DOB
Optionally, enter the contact's date of birth
Contact Time Zone
It is important to enter the contact's time zone correctly. Follow-up emails and texts will be sent according to their time zone.
Meeting Location
You can set a custom meeting location. If left blank, the default location established in the specific calendar will be used. To customize individual calendars, edit them in your CRM settings.
StatusSet your user status as either free or busy during each time frame.
Appointment Status
Set the appointment status as confirm, invalid, cancel, showed, or no-show. These statuses can be used for future follow-up automation in your CRM.
Additional Notes
This field allows you or your team to take notes while booking an appointment. These notes can be helpful for the meeting later on.
Navigating To The Contact Details Tab
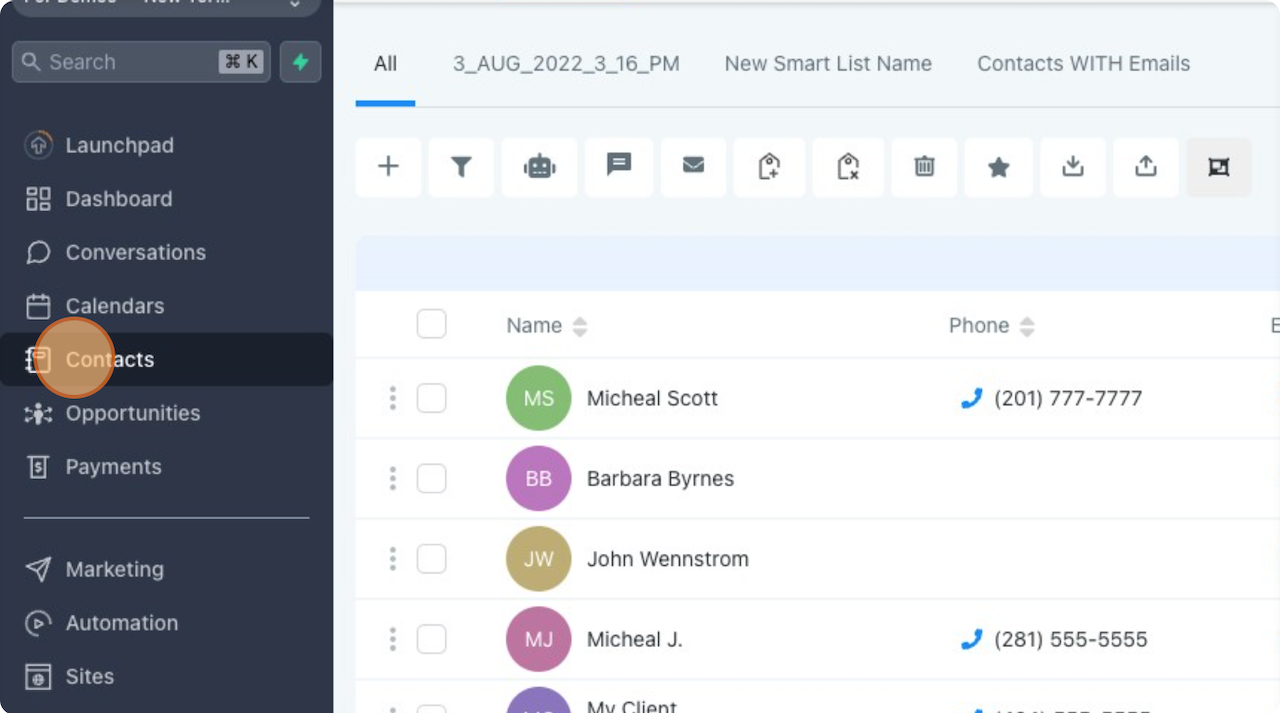
Click "Contacts"
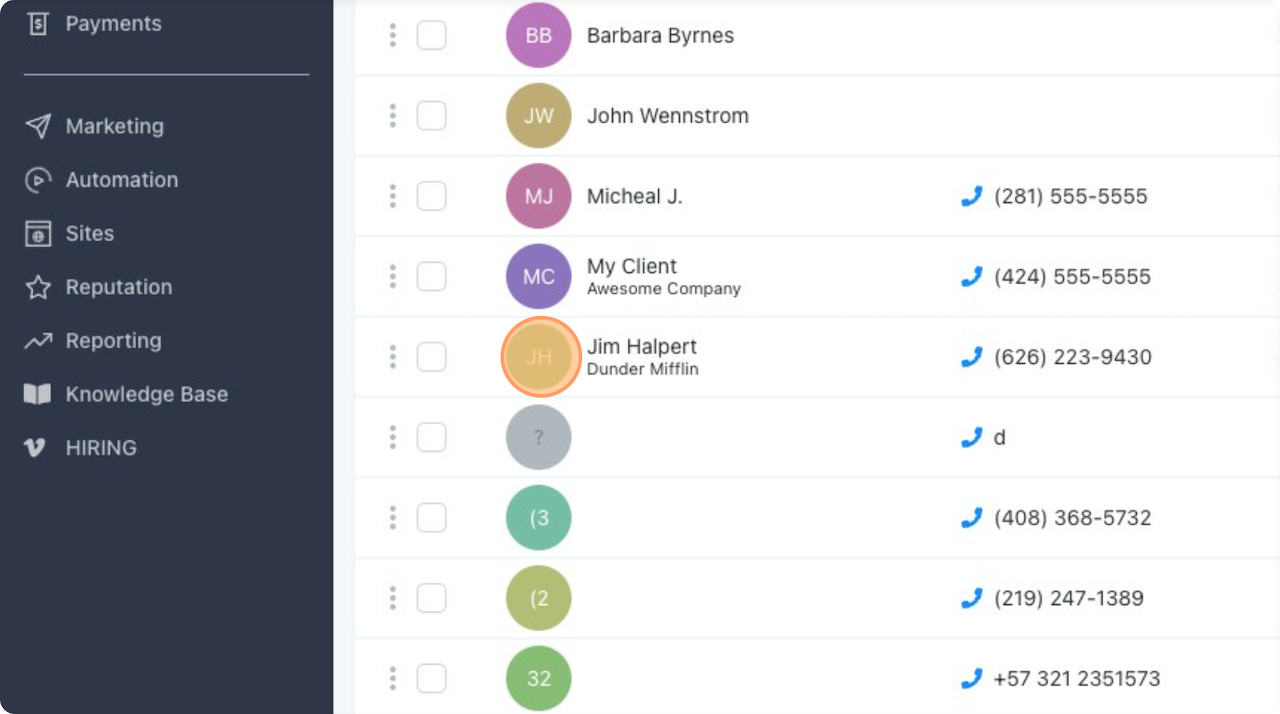
Click the contact you wish to view.
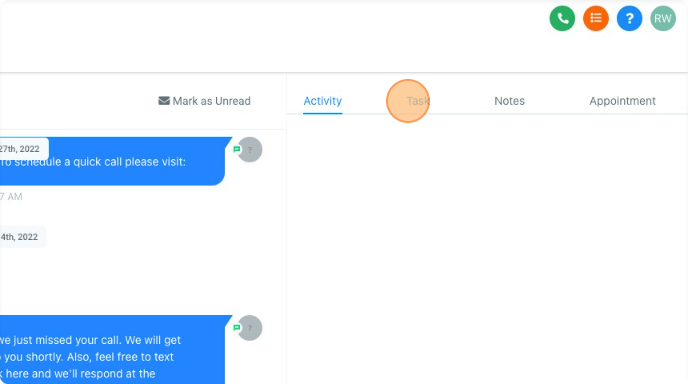
Click "Appointment"
Click the edit icon here.

Click "Book Appointment"
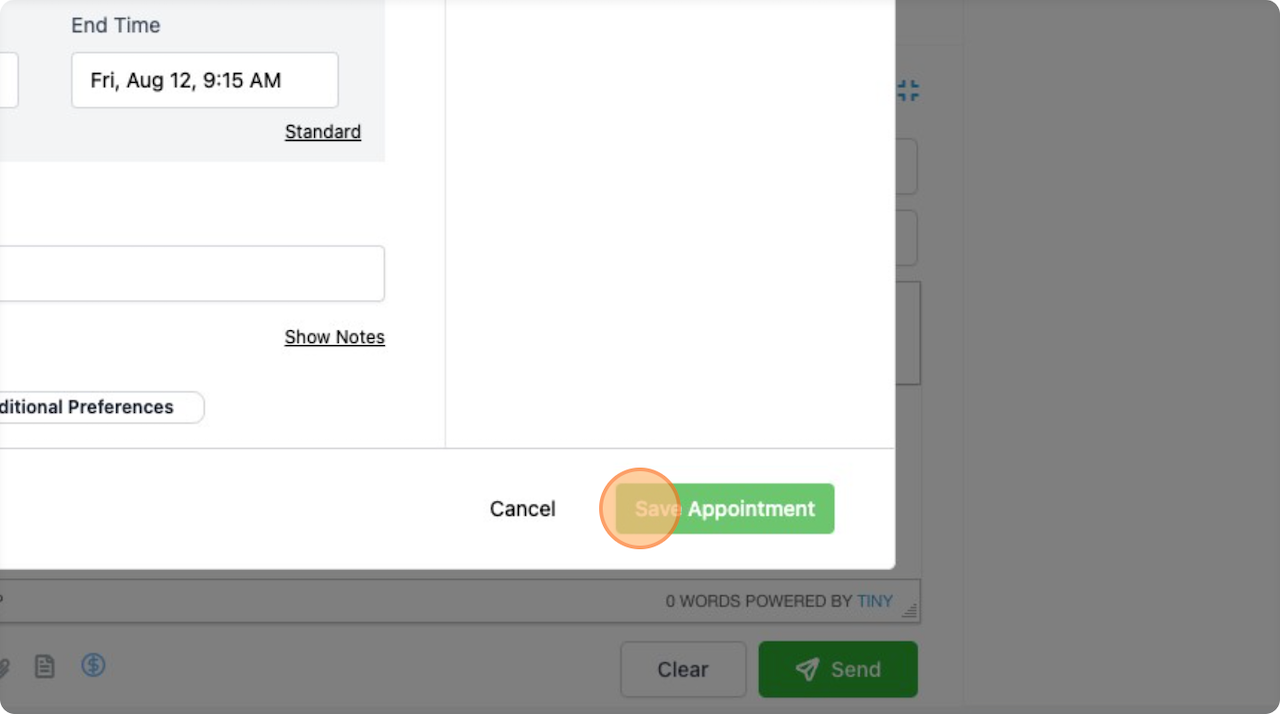
Click "Save Appointment"
10/2/24 Ext